Create Cloudflare Hugo Blog
Creating a Basic Blog with Hugo and Cloudflare Pages Workers (Pages)
Upon reflecting on my professional life, it seems like one thing I’m lacking is a blog to gather all of my random endeavours. When researching different options, I found that Hugo seemed like an easy and simple framework. Cloudflare Pages is also simple enough (and my domain was already protected by Cloudflare); so I set out to get Hugo and Cloudflare pages working together for an easy-to-create/update blog.
200 CLI commands and hours later, I finally had something running. This first blog post aims to document the process as of June 2025, to hopefully aid anyone in the future looking to do the same thing.
1. Install prerequisites on MacOS
I only cover MacOS here, because that’s what I’m using (and prefer it to working on Windows). I also use homebrew for MacOS, available here.
brew update
brew upgrade
brew install hugo
brew install git
brew install go
2. Create Hugo site and contents
We’ll be using the Anake theme, available here
hugo new site blog-shrlab
cd blog-shrlab
git init
git submodule add https://github.com/theNewDynamic/gohugo-theme-ananke.git
echo "theme = 'ananke'" >> hugo.toml
hugo new content posts/hello-world.md
NOTE: You have to edit the above hello-world.md file and set draft = false, otherwise your site will not publish your content
3. Push to new Github repository
echo "A Hugo blog hosted with Cloudflare Workers (Pages)" >> README.md
git add * && git commit -m "Added Hugo files"
git push -u origin main
4. Create wrangler.toml
Create a new text file, wrangler.toml, the contents of the file should look like the following:
name = “blog-shrlab” compatibility_date = “2025-06-17”
[assets] directory = “./public”
routes = [ { pattern = “shrlab.com”, custom_domain = true } ]
Details about this file:
- name: the name is just name of the worker. I have it same as the my repository as it keeps things consistent.
- compatibility_date: set this to the current date.
- directory: this is the directory which will be the root of your website once built. in Hugo’s case, its the /public/ directory.
- routes: are custom domain which you have to add here and at your CF dashboard as well for this to work. (this is really important trust me)
Push this to your repository and continue on CF Dashboard: https://dsah.cloudflare.com
5. Create Cloudflare Workers/Pages Configuration
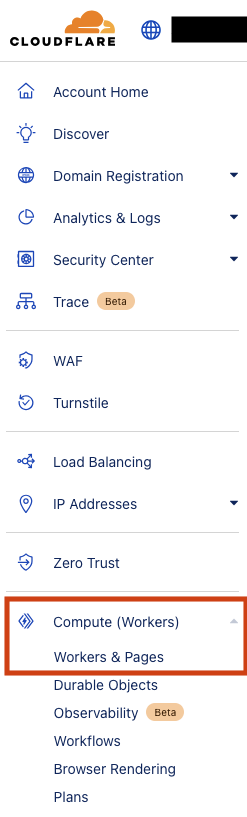
On the left-hand sidebar, expand Compute (Workers) and click Workers & Pages
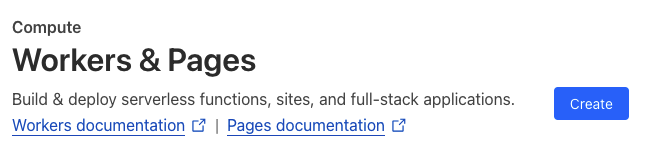
Click the blue ‘Create’ button
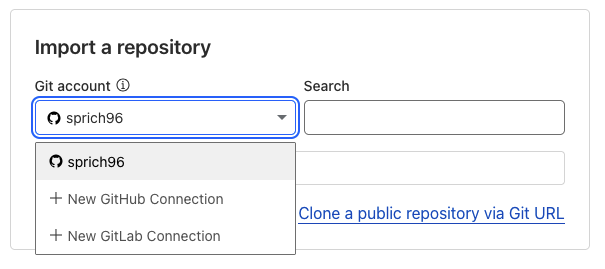
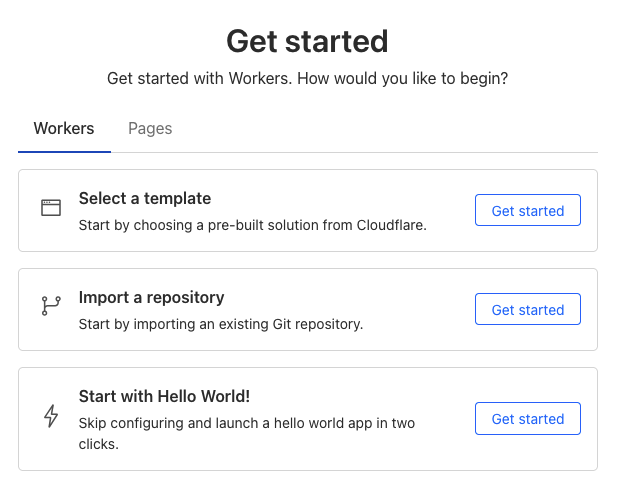
Click ‘Get Started’ next to Import a Repository
Click ‘+ New GitHub Connection’ or use an existing one, and click the corresponding repository